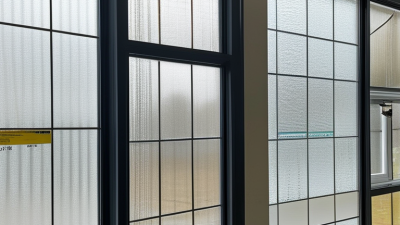
Replacing hung windows begins with accurate measurements, not a guess based on the visible glass. A replacement unit must fit the existing opening, frame, and installation method. Even a small error can create drafts, water intrusion, or costly delays. Measure the window opening from inside the home, where the structure is easier to inspect. Remove blinds, screens, or interior trim that blocks the jambs. Then check the width at the top, middle, and bottom. Record the smallest measurement.
Measure carefully. Measure the height on the left, center, and right sides. Use the shortest height for your working figure. Check the sill for slope, damage, and soft wood. A tape measure shows size, but it cannot reveal every installation problem. Look for paint buildup, warped jambs, loose fasteners, and uneven gaps around the sash. These details matter when ordering replacement hung windows.
Professional installers often verify measurements twice before sending them to a manufacturer. That habit is worth copying. However, measuring only the opening may not be enough. Confirm the window type, frame depth, sash design, and available clearance. Some older homes have irregular openings that appear square but are not. I have seen careful measurements change after trim removal. That can be frustrating, but it prevents a wrong order. Take clear notes and photographs, then compare them with the manufacturer’s sizing requirements. When uncertainty remains, ask a qualified window professional to inspect the opening before purchase.
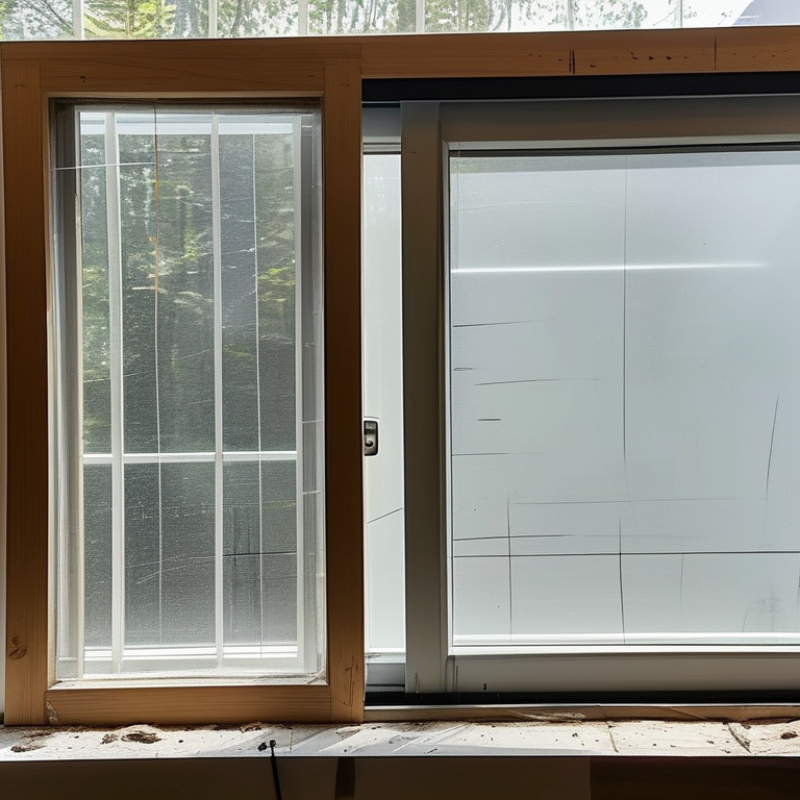
Identify the hung window type before recording measurements. A single-hung window has one movable sash. A double-hung window allows both sashes to move. Tilt-in sashes also require compatible replacement hardware. Do not trust the old label. Check the actual frame, sash movement, jamb depth, sill angle, and visible drainage paths. A tape measure can lie when the frame is bowed.
Measure the rough opening width at the top, middle, and bottom. Measure height on the left, center, and right. Record the smallest width and height, then compare both diagonal measurements. Large differences may indicate a distorted opening. Measure from the sill’s highest point to the head jamb, not from the exterior trim. Replacement requirements may include a suitable installation method, drainage management, safety glazing, emergency escape clearance, and local energy-code compliance.
Performance matters beyond fit. The U.S. Department of Energy reports that residential windows can account for about 25–30% of household heating and cooling energy use (Energy Saver, “Windows”). Review U-factor, solar heat gain coefficient, visible transmittance, and air-leakage ratings through the National Fenestration Rating Council’s certification guidance. Energy Star program criteria also vary by climate zone. Smaller is not always safer. A cautious recheck is worthwhile, because a one-eighth-inch error can create shimming, leakage, or operating problems.
Accurate measurements begin with simple, reliable tools. Use a rigid steel tape, a small level, a framing square, pencil, notebook, and flashlight. A phone camera can record hidden damage around the frame. Avoid soft measuring tapes. They can bend inside narrow jambs.
Measure each hung window separately, even when several units look identical. Record the rough opening width at the top, middle, and bottom. Then measure height on the left, center, and right. Use the smallest width and height when checking replacement size. Do not round up. Write every measurement immediately. A rushed reading can feel precise, but it may be wrong.
Check the jamb depth with the tape held straight against the interior stop. Use the level to identify leaning jambs and the square to find uneven corners. Older wood frames often shift slightly over time. I still recheck unusual results because one misplaced eighth-inch can affect installation. The U.S. Department of Energy reports that windows may account for 25–30% of residential heating and cooling energy use, so fit and sealing deserve careful attention. Industry installation guidance from the Fenestration and Glazing Industry Alliance also emphasizes verifying opening conditions before ordering. Measure the frame, not the removable sash. Note rot, cracked trim, or gaps, too. Small details matter.
Measure the existing window width at three points: top, middle, and bottom. Use a rigid steel tape, not a soft measuring tape. Open the hung window if necessary, then measure from the left jamb to the right jamb. Measure the clear opening, not the decorative casing or interior trim. Keep the tape level and record each measurement to the nearest 1/8 inch. A small angle can change the result.
Write the three numbers immediately. For example, you might record 35 7/8, 35 3/4, and 35 13/16 inches. Use the smallest width when ordering a replacement window. This allows room for minor framing differences and installation adjustments. Do not average the measurements. That shortcut can create a window that will not fit.
Check the frame for swelling, loose material, or old paint buildup, because these details can reduce the usable opening.
Tips:
Measure twice before removing anything. Check the width again after cleaning the jambs. I have seen measurements fail because a thick paint ridge was mistaken for part of the frame.
It is also wise to compare the diagonal measurements. Unequal diagonals suggest the opening is not perfectly square. That does not always prevent replacement, but it deserves careful review. When the numbers seem inconsistent, pause and measure again instead of forcing the result.
How to Measure Hung Windows for Replacement
Measure the existing window height at three points: left, center, and right. Use a rigid steel tape, not a flexible measuring strip. Measure from the highest point of the inside sill to the underside of the head jamb. Do not measure the interior trim or stool. Keep the tape vertical. Even a slight angle can change the result by several millimeters. Record each measurement to the nearest 1/8 inch. This small discipline matters because the U.S. Department of Energy estimates that windows can account for 25% to 30% of residential heating and cooling energy use.
Write the three readings in a simple worksheet. For example, record 58 3/4 inches, 58 5/8 inches, and 58 7/8 inches. The smallest height usually controls the replacement order. However, do not subtract a fixed amount automatically. The required installation clearance depends on the opening condition, frame material, and approved installation instructions. Older sills may slope or carry layers of paint. They are rarely perfect.
Measure again after checking the tape position. I have seen a center measurement change when the sash remained partly open. That mistake is easy to make. Inspect the jamb for swelling, rot, or hidden shims before finalizing the size. The 2024 Cost vs. Value report places national cost recovery for vinyl window replacement near 67%, so inaccurate measurements can waste a meaningful investment. A written record, a clear photo, and one careful recheck improve reliability.
Measure the existing window height from the highest point of the bottom sill to the top of the window opening at the left, center, and right. Record all three measurements before determining the replacement height.
| Measurement Point | Height (in.) | Height (mm) | Measurement Location |
|---|---|---|---|
| Left | 59 7/8 | 1,521 | Approximately 6 in. from the left side |
| Center | 60 | 1,524 | At the centerline of the opening |
| Right | 59 3/4 | 1,518 | Approximately 6 in. from the right side |
| Calculated Dimension | Result | Purpose |
|---|---|---|
| Largest measured height | 60 in. / 1,524 mm | Identifies the maximum available opening height |
| Smallest measured height | 59 3/4 in. / 1,518 mm | Identifies the most restrictive point |
| Variation across opening | 1/4 in. / 6 mm | Shows whether the opening is out of square or uneven |
| Recorded replacement height | 59 3/4 in. / 1,518 mm* | Use the smallest measurement as the reference for ordering |
| Measurement Practice | Recommended Method |
|---|---|
| Measure from the same reference surfaces | Keep the tape level and measure from the bottom sill to the top jamb. |
| Take measurements in three places | Record the left, center, and right heights separately. |
| Record the smallest dimension | Use the smallest height as the sizing reference and confirm the required installation clearance. |
| Verify unusual variation | Recheck the opening if the three measurements differ noticeably before ordering. |
*The dimensions shown are a sample measurement record for an existing opening. One inch equals 25.4 millimeters; fractional inch values are rounded to the nearest millimeter.
When measuring a hung window, work from the existing opening, not the glass size. Open the sash and inspect the side jambs, sill, and head jamb. Dirt can hide a narrow gap. Clean the contact surfaces before measuring. I use a rigid steel tape, a pencil, and a worksheet for every opening. Measure each window separately. Older homes often have openings that look identical but differ by several millimeters.
Measure the width between the left and right jambs at the top, middle, and bottom. Write down all three numbers. The smallest width is the ordering measurement. Then measure height from the sill’s highest usable point to the head jamb. Check the left side, center, and right side. Record the smallest height.
Keep measurements to the nearest 1/8 inch, or follow the supplier’s required unit. Do not subtract extra space unless the installation guide requests it. That allowance depends on the window type and site conditions.
I once trusted a single center measurement and missed a bowed jamb. The replacement would have been too tight. That mistake changed my routine. I now check the opening for square by comparing diagonal measurements. Large differences may require a professional site assessment. Note obstructions, damaged wood, moisture marks, and interior trim before ordering. Photograph the tape in position when useful. Review every number before submission, especially the smallest width and height. A neat form cannot correct a careless measurement.
Ontario launching new 12-year rebate program